How to prep a room for painting
Preparation is key! Here's how to prep a room for a successful painting project.
10/8/20242 min read
How to Prep a Room for Painting
Embarking on a painting project can be an exhilarating venture, promising a fresh ambiance and revitalized aesthetics. However, the success of your endeavor largely hinges on meticulous preparation. Preparing a room for painting is a crucial phase that, if executed properly, ensures a smooth application and long-lasting finish. This guide outlines the essential steps to ready your space for painting, emphasizing attention to detail and thoroughness.
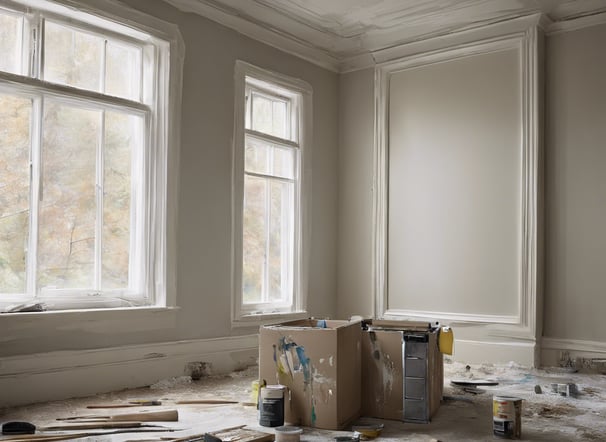
Clear the Space
Before any work begins, the room should be entirely cleared of all movable items. Furniture, decorations, and electronic devices should be removed to provide ample space for maneuvering and to prevent any accidental paint splatters. If moving large furniture out of the room is impractical, consolidate them in the center and cover them with durable drop cloths or plastic sheeting to safeguard against paint drips and dust.
Protect Flooring and Fixtures
Once the room is cleared, attention should turn to protecting the floor and any remaining fixtures. Drop cloths are indispensable in this regard, offering a shield against spills and splashes. Tape the edges of the cloths to ensure they remain securely in place throughout the project. Additionally, cover any fixtures such as light switches, outlets, and ceiling fans with painter's tape or specialized covers to protect them from errant strokes and splatters.
Clean the Walls
Cleaning the walls is a step that should not be overlooked. Dust, dirt, and grease can prevent paint from adhering properly, leading to uneven finishes and premature peeling. Use a mild detergent mixed with water to gently scrub the walls, and allow them to dry completely before proceeding. Pay special attention to areas around cooking spaces or near doors and windows, as these often harbor stubborn residues.
Repair and Sand Surfaces
Examine the walls for any imperfections such as holes, cracks, or peeling paint. Use a spackling compound to fill holes and cracks, ensuring a smooth surface for painting. After the compound has dried, sand the repaired areas to create an even plane. Additionally, sanding glossy surfaces is crucial, as it helps new paint adhere better. Remember to wipe away dust from sanding with a damp cloth to ensure a clean slate.
Apply Painter’s Tape
Precision is key to achieving clean, professional-looking edges. Applying painter’s tape along the trim, moldings, and any area that will not be painted helps to delineate boundaries and prevent paint from seeping into unwanted spaces. Ensure that the eased down firmly content
Quality
Transforming homes with expert painting services.
Trust
Satisfaction
© 2024. All rights reserved.